Looking around your home with a critical eye set to find savings for both your pocketbook and the planet, one of the most wasteful spots in most homes is disposable paper towels. Luckily, they are incredibly easy to sew up in cloth form, so you can use them over and over again!
Back in the day you might have called these “rags” as my parents did, but there’s no need to have something ragged and ugly in your cute kitchen. My family always saved old t-shirts to turn into rags because they were absorbent, but of course you can simply buy absorbent fabrics to turn into your new cloth paper towels.
The name itself, cloth paper towels, is a bit of an oxymoron, since they cannot be both cloth and paper, but though these are made of fabric, they will replace paper towels in your home for good! You can use them over and over again and simply wash them between uses and save loads of money in the process. Seriously, aren’t paper towels oddly expensive for something you use and throw into a landfill? No more!
I have four different ways for you to make your own, from fancy to extremely basic, which are the versions I use in my own home. I like them to be a quick and simple sewing project, but you can decide for yourself which suits you best. Okay, let’s get to it!
Double-sided:
For all of these projects, I am using a medium-to-thin weight cotton terry cloth fabric as the starting point. You can use anything you like, but for the towels to be really like paper towels and not like tea towels, they should be made from an absorbent fabric. Other good choices are medium-weight cotton knits, micro-fiber fabrics (like the kind you dry your car off with), and some light weight flannels work nicely too.
Once you’ve picked your fabric, be sure to trim off the selvage edges, as these sides will shrink at a much different rate than the rest, and since these will get lots of washings, this is a good idea to keep them looking as nice as possible, for a glorified rag of course. Also, you will want to pre-shrink your fabric too, so toss the fabric through the washer and dryer before sewing them up.
Washing and drying your fabric will also make it more absorbent as well, since it will wash off the starch that fabric manufacturers put on the surface of the material. So if you find them not picking up as much as you’d like, give them a few washings and it will improve.
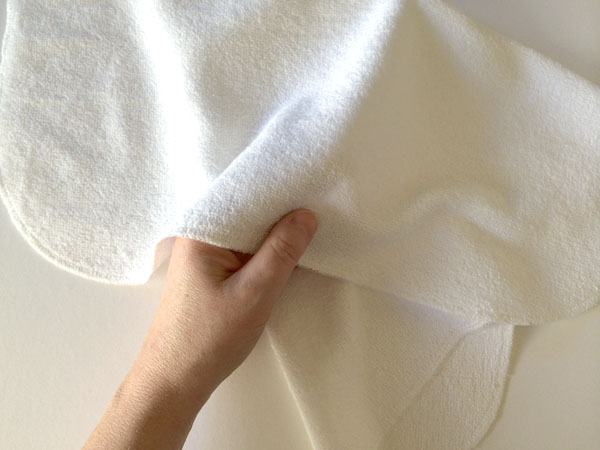
For the double-sided option, I’m using quilt weight on the back side. Again, this is the fanciest of these cloth paper towels, so if you’re looking for something much more basic, keep reading, I promise those are here too! If you want to back your towel fabric with quilt weight, pre-wash and dry it first, then trim it to match the size of the towel fabric.
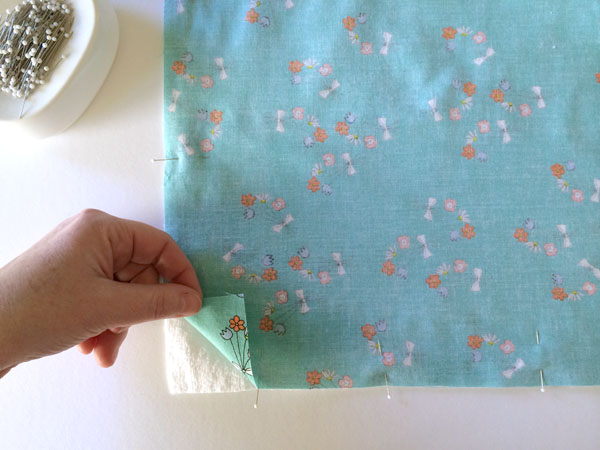
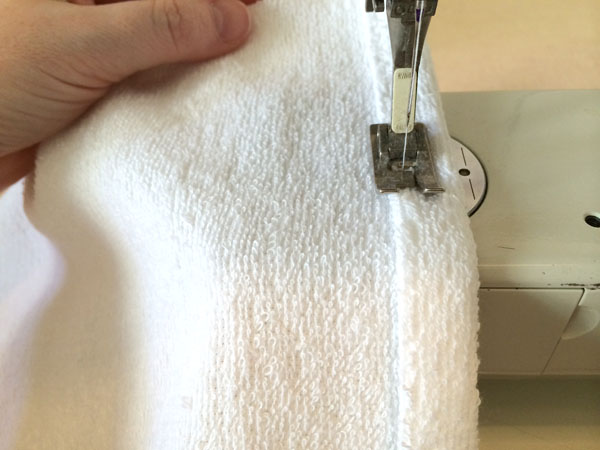
Pin the two layers together, right sides facing. One section about 4″ long will be left open, so mark where you want that to be before going to the sewing machine so you can leave it open. Your towel can be any size you like, but I suggest leaving this opening in the middle of a section and not near a corner.
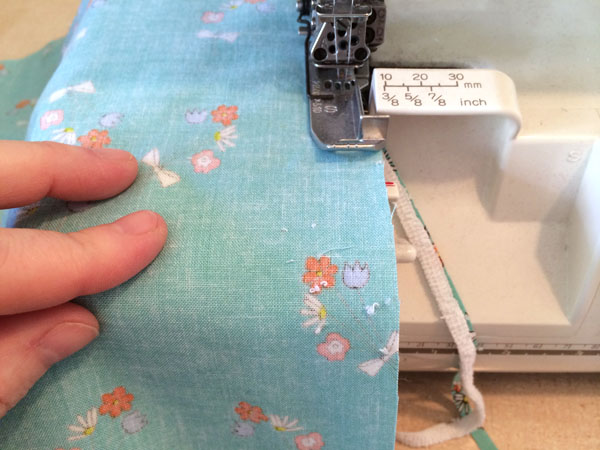
Sew up the towels, right sides together, being sure to leave that section you marked open so you can turn these right side out after sewing. I am choosing to sew mine up with my serger, as terry cloth can really shed a lot and the overlock stitch can lock all those fuzzy bits in place.
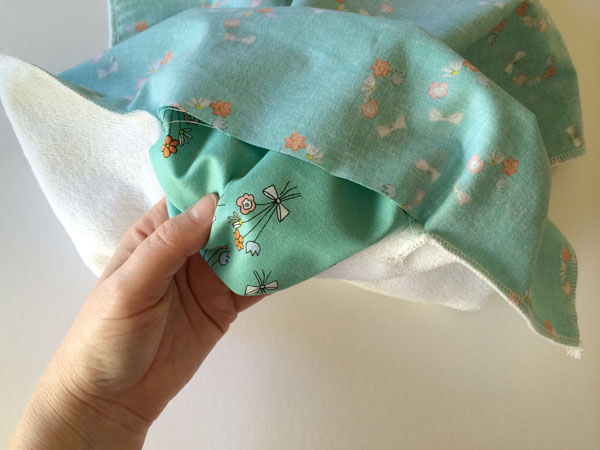
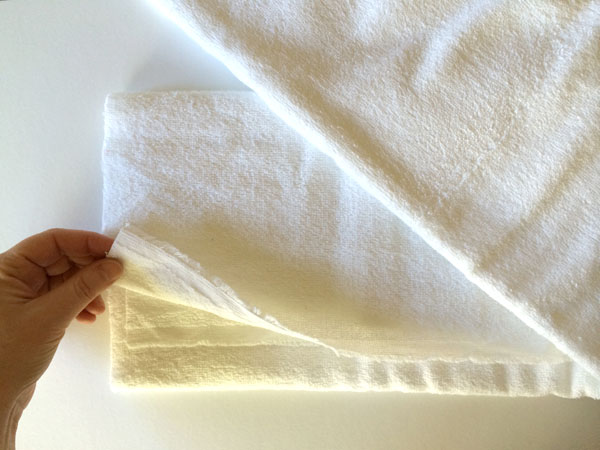
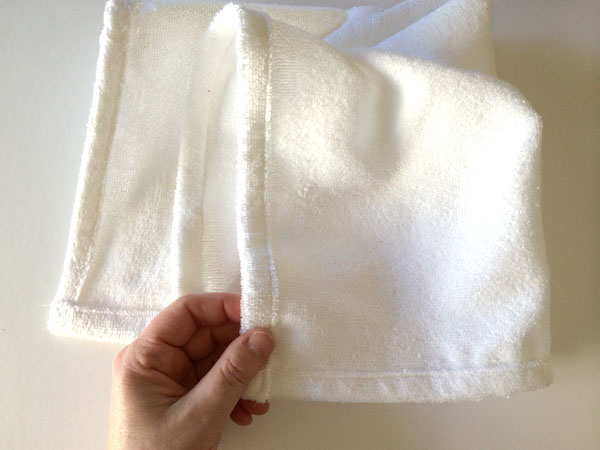
Turn the towels right side out through the opening you left on one side.
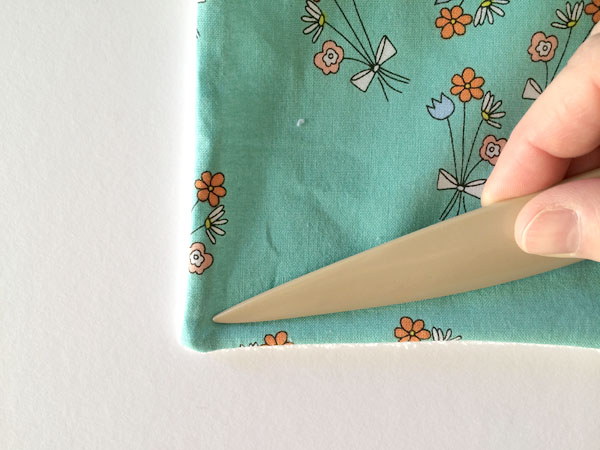
Insert your point turner into the corner and poke the fabric out to a nice square. Repeat on each of the four corners.
Press the sides with your iron, keeping the terry cloth to the back side.
At the opening, fold the fabric into the inside the same seam allowance you used to sew the towel’s sides. This way the sides will line up nice and straight.
Topstitch all the way around the towel, closing up the opening at the same time.
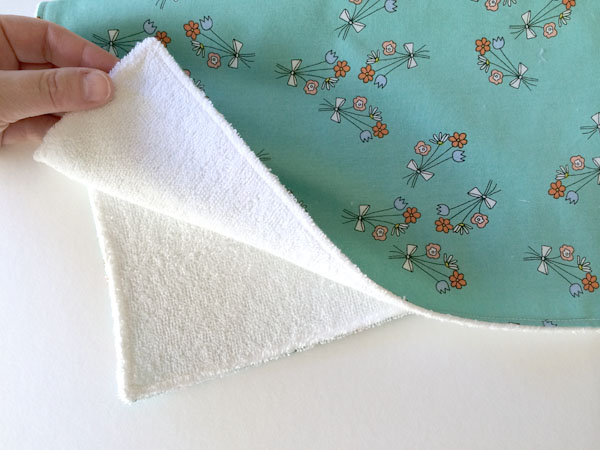
And there you go! Absorbent terry cloth on one side, and cute quilt weight cotton on the other. This is like a paper towel on the back and a tea towel on the front. Keep reading for three more options!
Bias-trimmed:
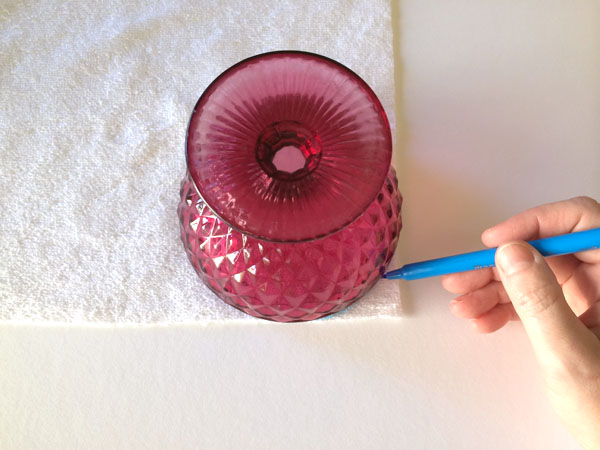
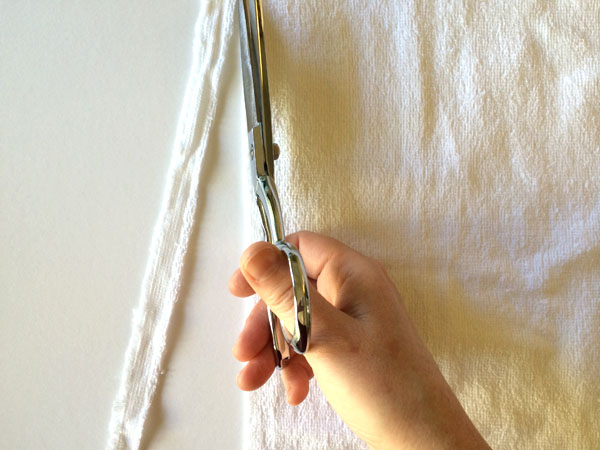
Since the part you really want to secure are the cut sides, the remaining three methods of making cloth paper towels all center around finishing the edges in some way. In this version, we are simply sewing bias tape to the edges for a clean finish. This is much easier done with curved corners, so once you’ve cut your towel to size, use something round and a marking tool to draw rounded corners on the four corners of your fabric. Trim off the corners with scissors.
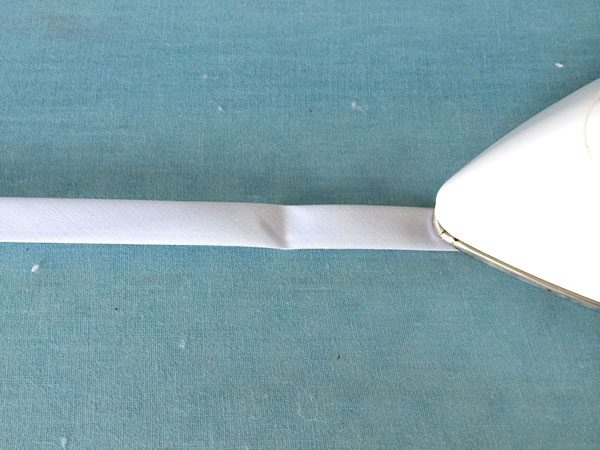
If you are using pre-made bias tape as I am here, take a moment to press out the folds that are left from the packaging. You can also of course make your own bias tape if you prefer!
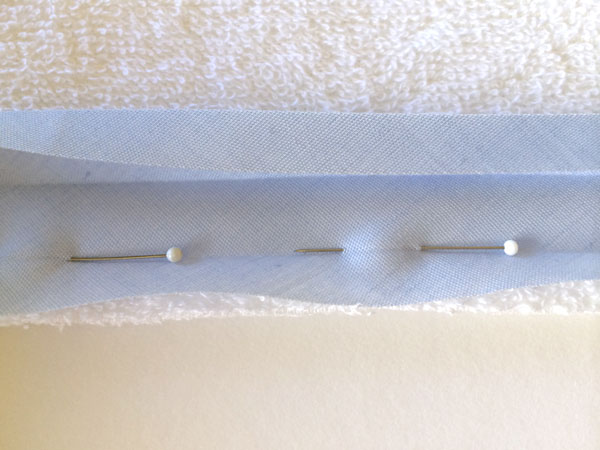
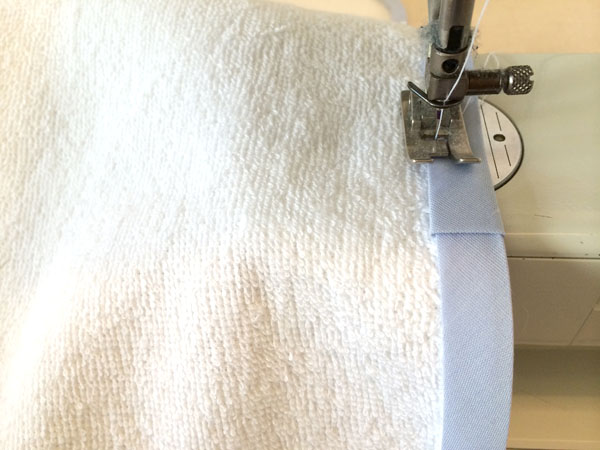
Open the bias tape and place it down with the creases of the folds down and the valleys of the folds up. Line up the raw edge of the fabric with the long edge of the fabric and pin in pace.
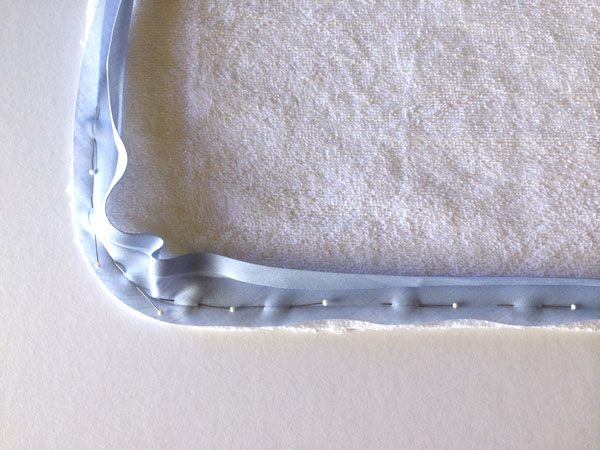
Continue pinning all the way around the whole piece, including the corners.
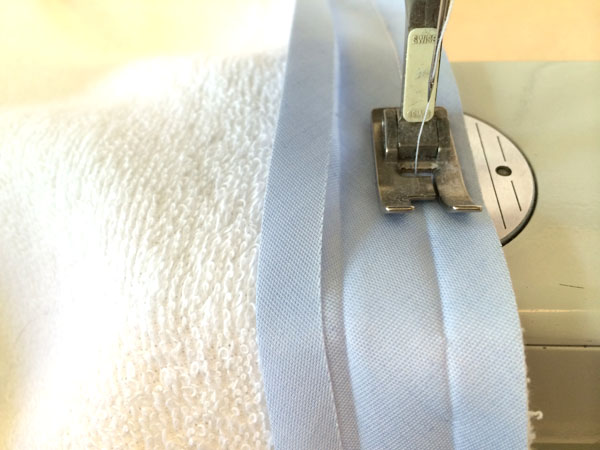
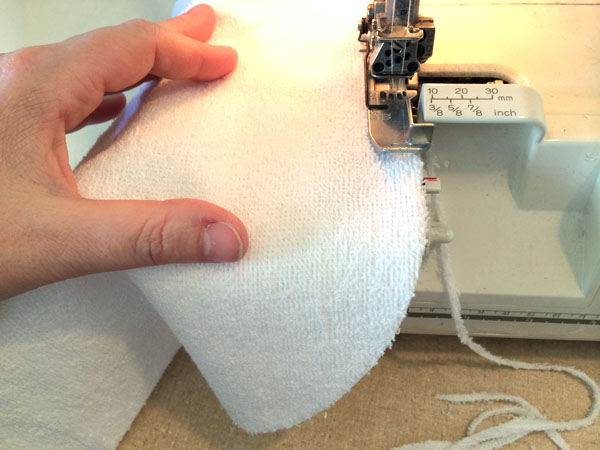
Sew the bias tape to the towel, leaving about 1/2″ un-sewn at the very start. Sew in the valley closest to the raw edge of the fabric.
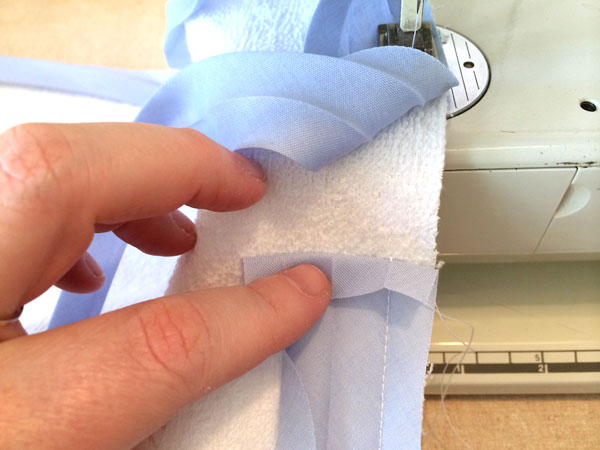
Once you make your way all the way around, stop a few inches prior to reaching the starting point. Fold the 1/2″ un-sewn at the start on top of itself. Pin in place.
Place the part of the bias tape you are sewing on top of the fold you just made. Keep sewing in the valley of the folds until you have overlapped the starting point.
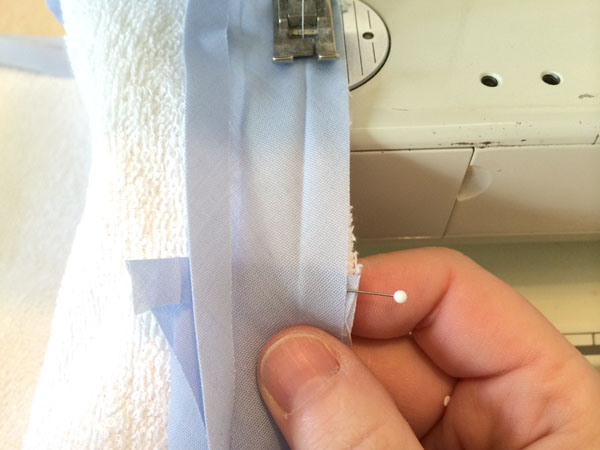
Trim off the extra bias tape at the overlap point. It should look like it does above.
Fold the bias tape so half of it remains on the side you were just sewing on, and the other half is facing the other side. Press it in place all the way around the towel.
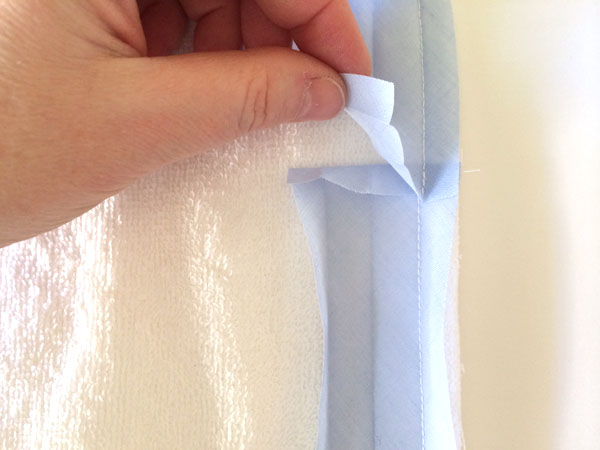
Sew the bias tape in place on the opposite side from where you sewed it on previously. This should secure it all the way around on to the towel. At the overlap as seen above, simply go over it as is and it will stay in place.
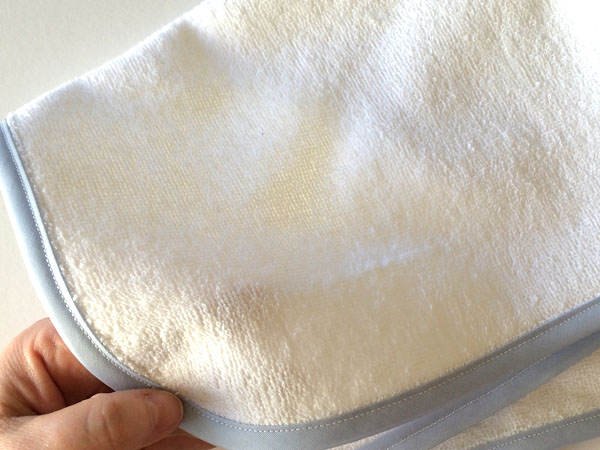
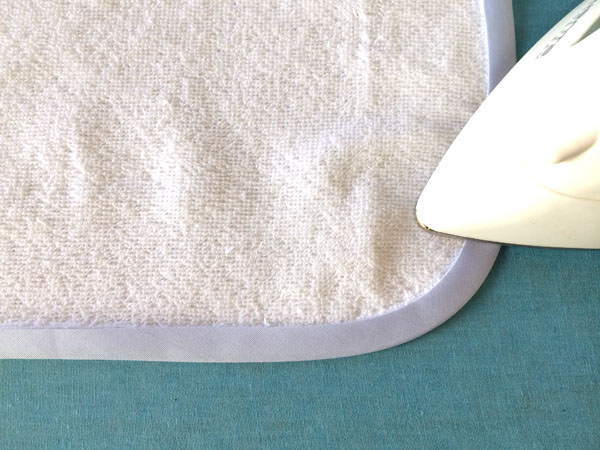
Press the bias tape again and it’s all done! This version is great because it’s still a simple terry cloth towel (or whichever absorbent fabric you have picked), but has a nice polished and finished edge to it.
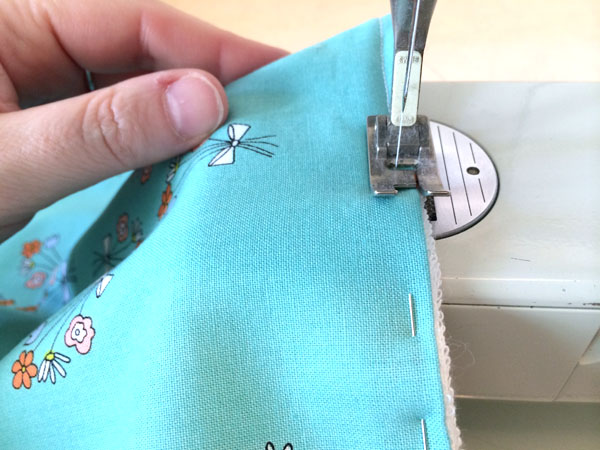
Double-fold hem:
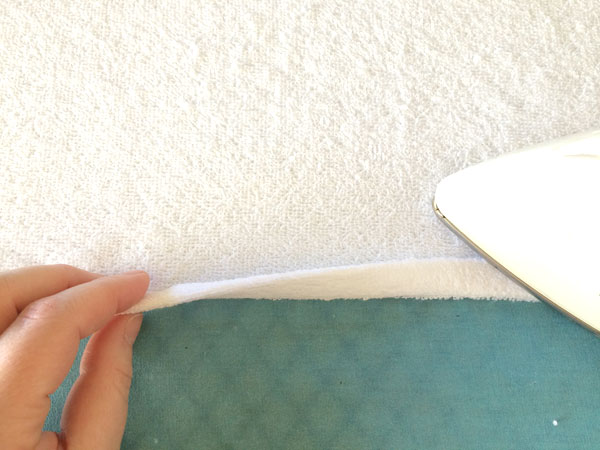
An even more basic approach to hemming the sides is to simply use a classic double-fold hem. Once you have cut your towels, fold the fabric once and press in place. Repeat by folding and pressing again. Do the same on the side opposite the first one you have done.
Sew these two opposite sides with a simple straight stitch at the top of the fold. Repeat by folding and pressing the other two sides opposite each other, then stitching in place.
You will be left with a simple towel with a classic hem. Easy!
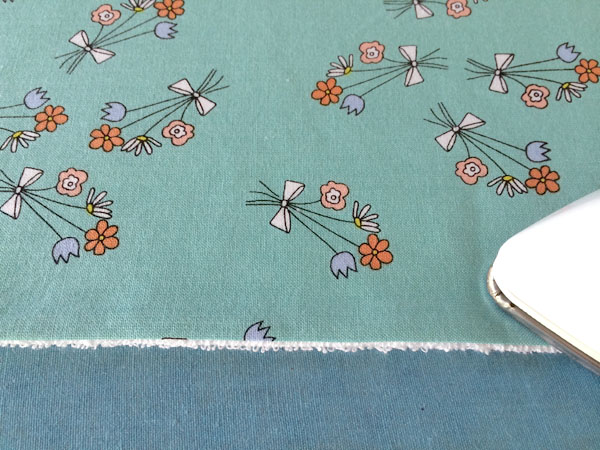
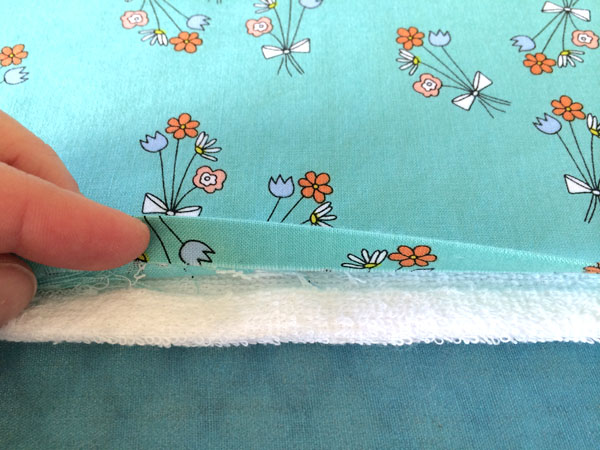
Serger edge:
Lastly, the absolute easiest approach, and the way I do it at my home, is by simply serging the edges. Of course, if you do not have a serger, the easiest approach is the previous fold and hem option. But if you do have a serger, you can just serge all the way around. Because this is much easier done in a single stitch, take a moment to trim the corners to be round as in the bias-trimmed option above.
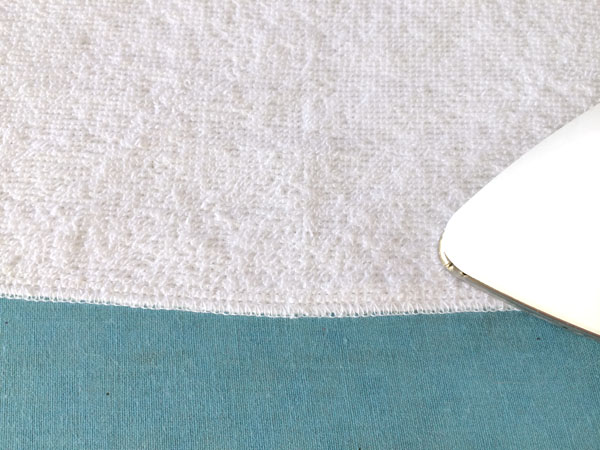
After serging, give all the edges a press with an iron.
Then you’re done! These are great as there is no added bulk or work and you can feel free to use them without hesitation as they are not fancy in any way. Saves you money and helps keep all those disposable paper towels from ending in landfills too! Win win for everyone!

Share tips, start a discussion or ask one of our experts or other students a question.
Already a member? Sign in
No Responses to “How to Sew Sustainable Cloth Paper Towels”