Quick Tips: Joining Binding Ends
Nicki LaFoille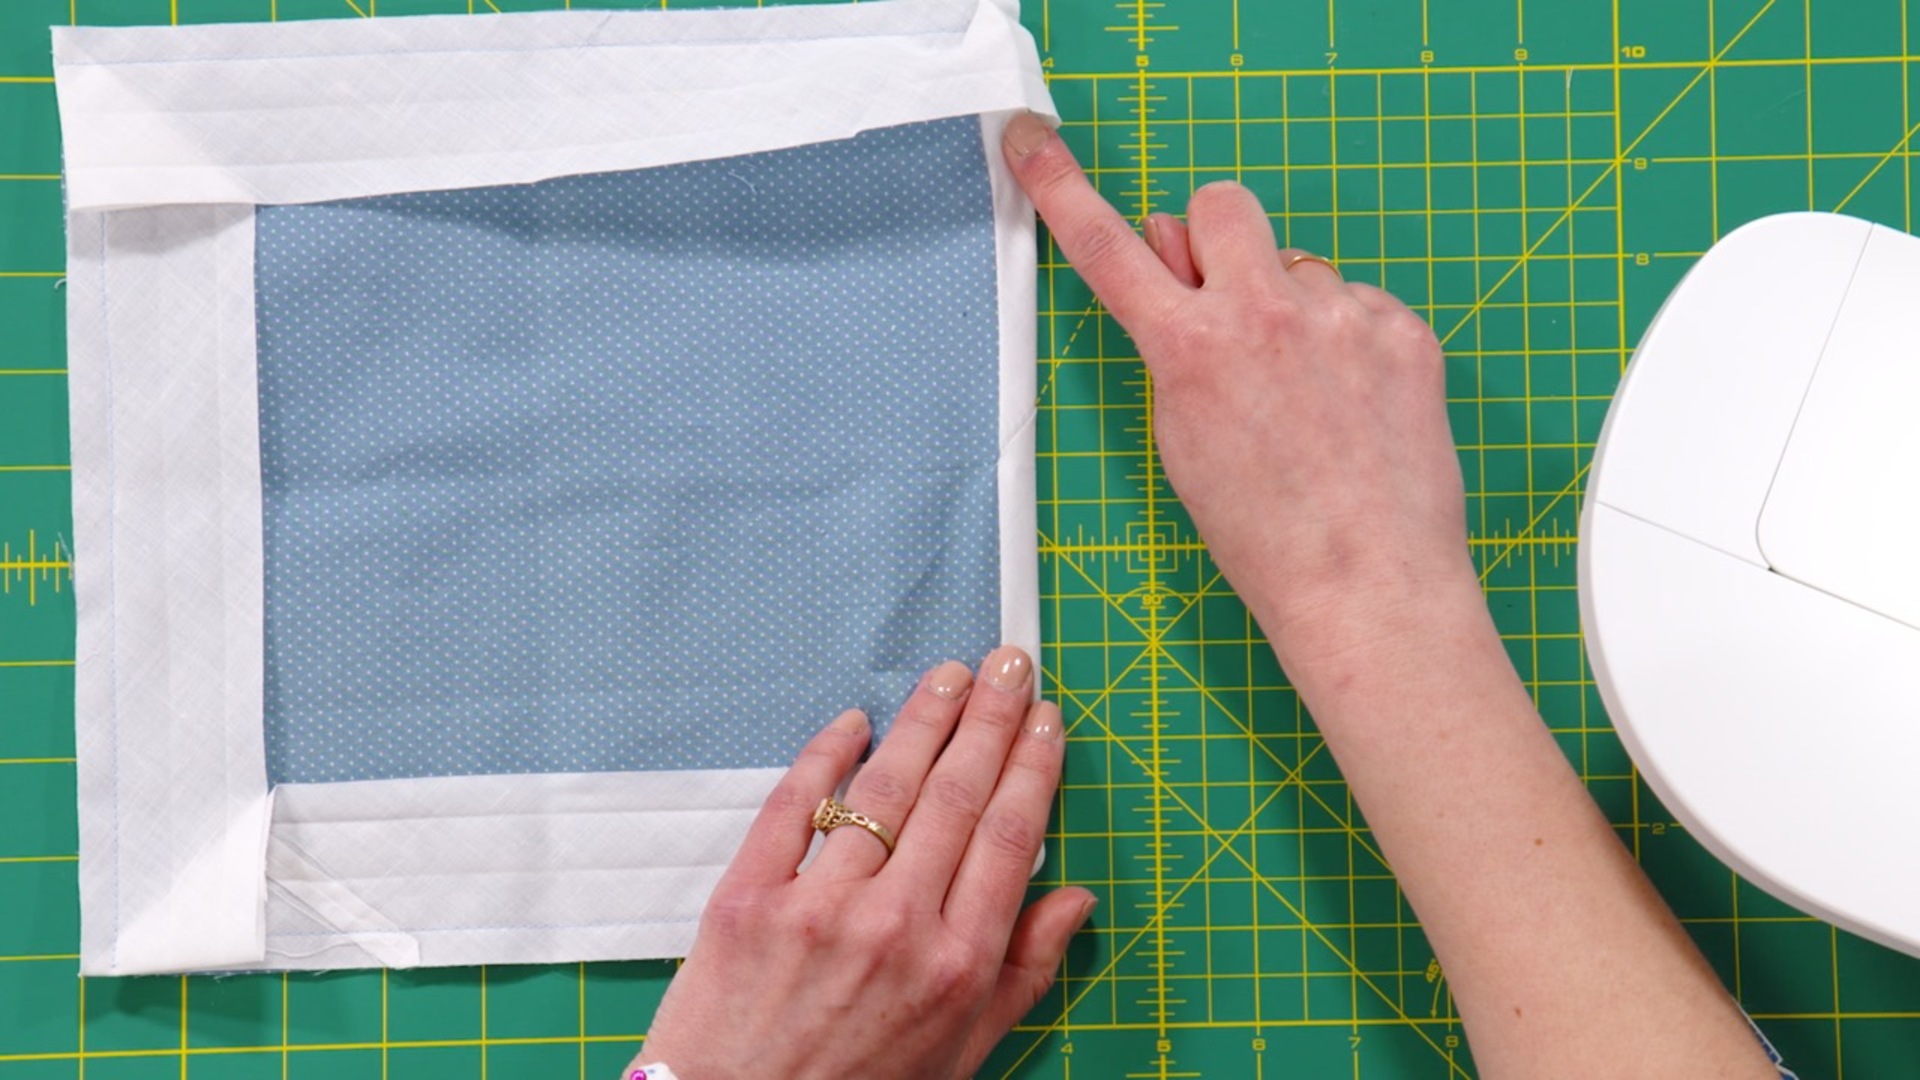
Video Player is loading.
Learn a trick to easily join binding ends at an angle when binding a quilt, table runner, or other project with an enclosed edge.
You may choose to finish the end of your binding by folding the raw end under; however, this can create excess bulk, an unsightly lump, and the fold is often visibly distracting. To smoothly finish binding on a project which has a bound perimeter, Nicki LaFoille demonstrates how to stitch the binding ends together, while eliminating the guesswork and avoiding puckers and miscalculations.
This technique for finishing binding allows you to stitch the binding end to the binding beginning using a diagonal seam, which will reduce bulk and create a smooth finish that is exactly the length of the bound edge. Using some simple marking allows you to precisely align the binding at the correct angle for joining the binding ends flawlessly every time.
When joining the binding ends, be sure to leave the binding beginning free, to allow room for the binding end to be attached. When the binding is approaching the end, Nicki demonstrates how to flip the project and align the binding ends with right sides together at a right angle. Stitching at a diagonal from the beginning of the previous seam to the corner allows you to finish the binding with reduced bulk.
Learn more about creating the binding strips for binding the edges of your project with these videos:
Creating Continuous Bias Binding
How to Use a Bias Tape Maker
Tips for DIY Binding
Applying Bias Tape to Edges and Mitering Corners
When you're binding the edges of a project, whether it's a quilt or a potholder or anything like that, you want the binding end to meet the binding beginning in such a way that you don't have any excess bulk. And you want the binding to finish at the exact length of whatever project edge you're binding, which the process can get a little bit tricky. So this method is precise and once you get the hang of it, it's really quick and easy. So here's my fake little bound edge project and here's my binding beginning. And when you begin, you wanna leave a couple of inches free at the uh at the beginning before you start stitching and fold that down so that the edges match.
And I'm just going to do a little crease, the little finger press that's going to help us get the correct angle in later steps and then miter all of your corners as you would. And then as we approach the binding beginning, we're going to stitch from the corner, we're going to stitch all the way up to about a stitch away from the folded binding here. So a stitch away from where we started are binding. So I can feel that fold underneath. So I know where to stop.
So I'm going to stop right as I approach that and then when we pull this off the machine, we're going to fold this upper portion, we're going to flip that back so that the right side is up and my seam allowances on the underneath are pushed this way. And then this lower portion we are going to swing around so that the crease that we put in that binding aligns with the sea. And that is going to put these two binding strips at uh 45 or sorry, 90 degree angle to each other. Now to finish this off, we're going to um attach these binding ends using a diagonal seam, which is going to help mitigate the bulk um when our binding is finished. So we're going to start stitching right here at the edge where this seam, the seam attaching the, the binding to the project where that ends.
That was our binding beginning. We're going to start right there and we're going to stitch diagonally up to where these two binding ends meet. So we want to keep everything at this perpendicular angle. And I'm going to mark myself my seam line from that seam beginning to that corner, put a pin in to hold everything in place. So I'm going to turn the hand wheel to get my needle right down at that point and then we're going to trim off the excess.
And then when we flip this open are binding is joined to the edge of our project. And the binding, um the length of the binding is the exact length of the, the project. So that when you fold that over, we have our diagonal seam here, that's going to help mitigate the bulk as we fold that over. And when you finish your project, you have a nice clean line on your binding.
Share tips, start a discussion or ask other students a question. If you have a question for an expert, please click here.
Already a member? Sign in
No Responses to “Quick Tips: Joining Binding Ends”