Walker Caddy
Nicki LaFoille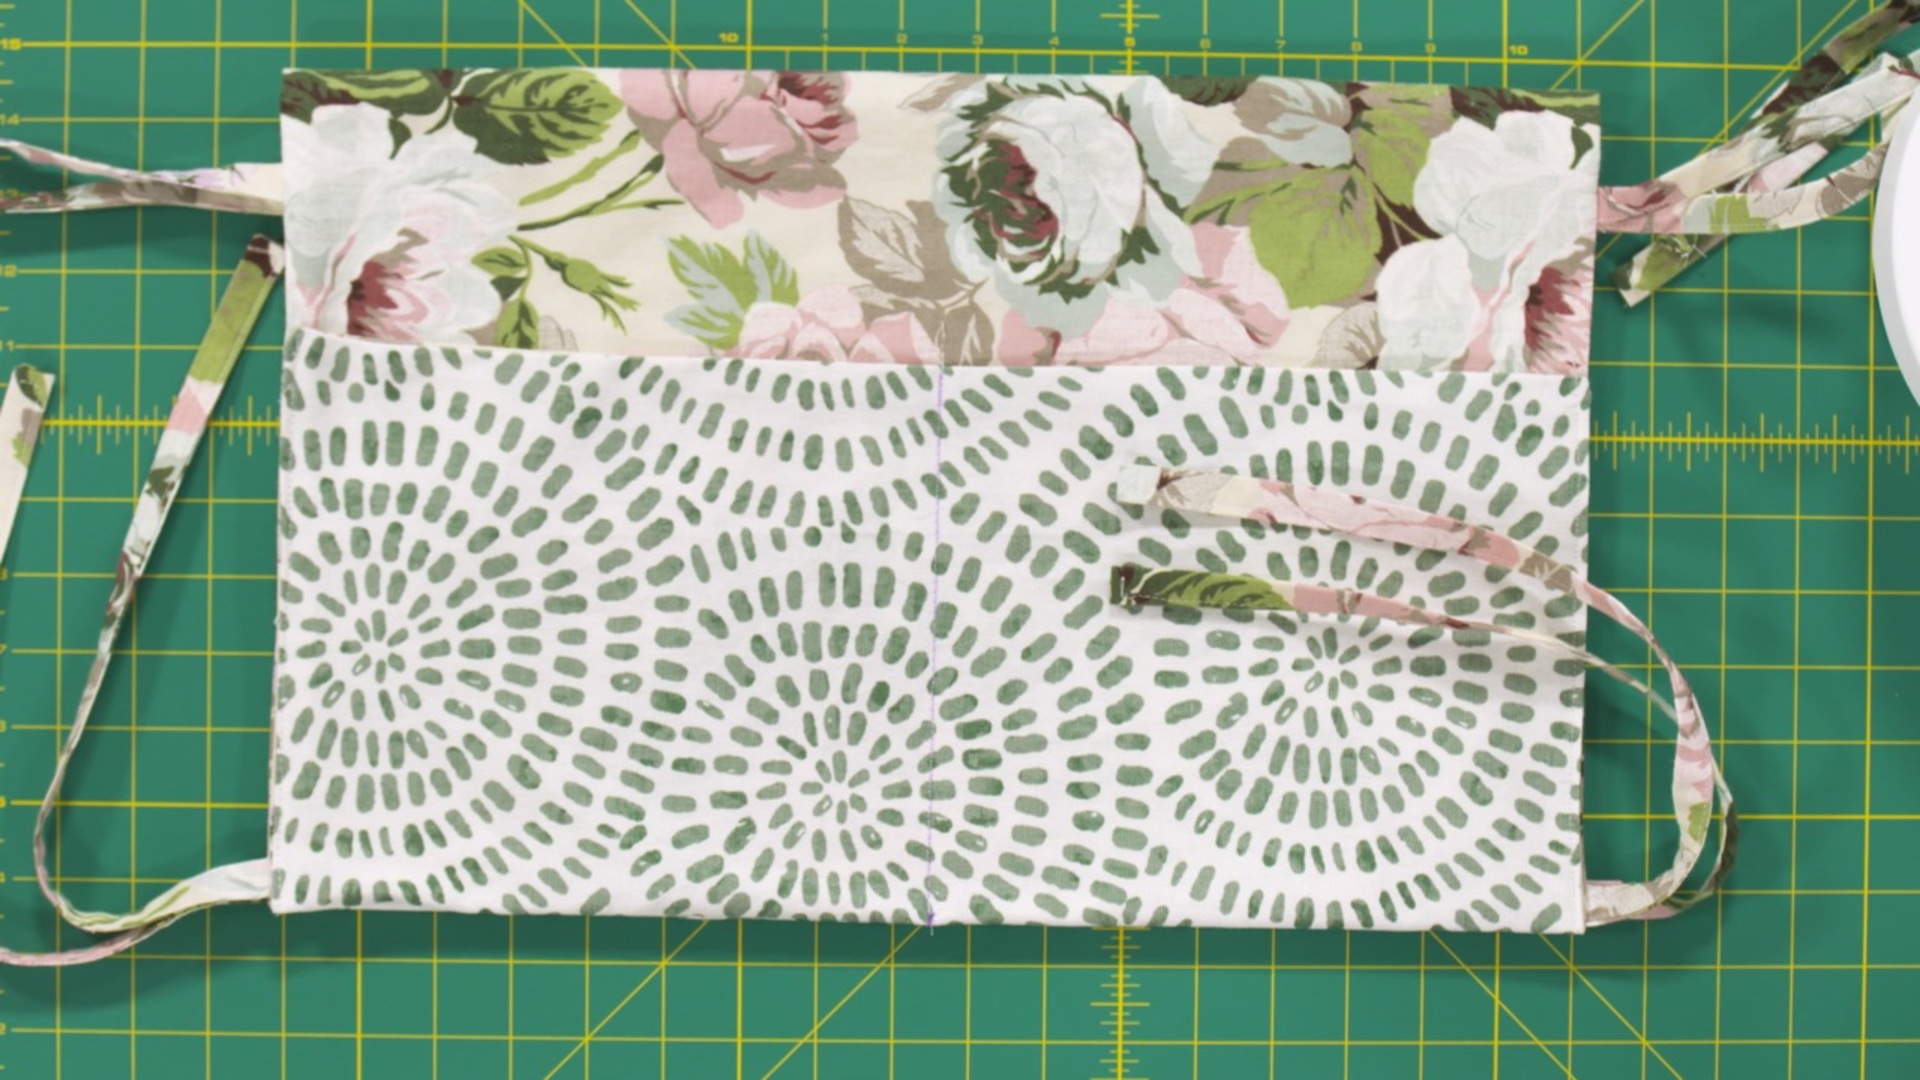
Video Player is loading.
Learn how to make a walker caddy, which attaches to the front bar of a walker, allowing the user to carry various items in the caddy pockets. Nicki LaFoille shows you how!
To make a walker caddy, you will need two fabric rectangles measuring 18”x36”. Nicki discusses various fabrics suitable for this project, such as canvas and quilting cotton, and how to use interfacing to strengthen the lower fabric layer if needed, as it will be rubbing against the metal walker bar when in use.
You will also need enough 2”-wide strips to create eight 13”-long ties. Nicki demonstrates how to fold and press the strips to create the ties. You can also use premade bias binding, or use a bias tape make tool to help fold the fabric.
Learn how to use a bias tape maker tool.
Topstitch the strip folds to finish each strip. Nicki demonstrates how to mark the tie placement on the canvas layer, depending on the desired depth of each pocket. Align a tie at each mark according to Nicki’s instructions. Fold the fabric rectangle in half widthwise, matching the ties, and mark the center fold.
Nicki demonstrates how to mark the remaining tie placements. Align the remaining ties with these marks, with the bulk of the tie toward the caddy center.
Align the remaining large fabric rectangle with right sides together and raw edges aligned. Stitch the perimeter, leaving a 4”-5” opening for turning. Clip the corners, then turn the walker caddy right side out. Nicki demonstrates how to fold and topstitch the pocket edges, then create the pocket divisions.
Learn how to make more bags and organizers with these videos:
Zippered Box Pouch
DIY Wrist Wallet
Sew an Accordion Pouch